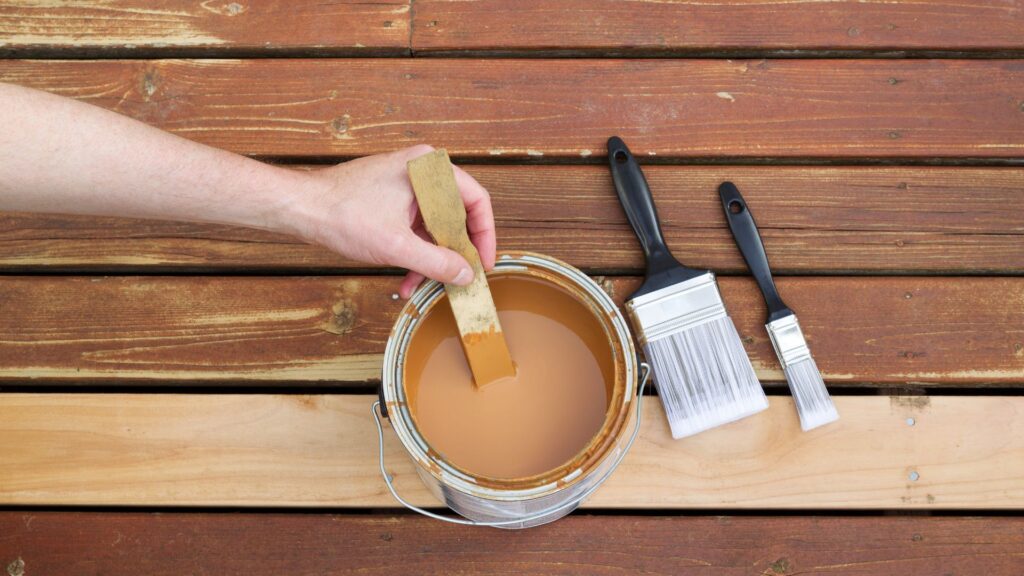
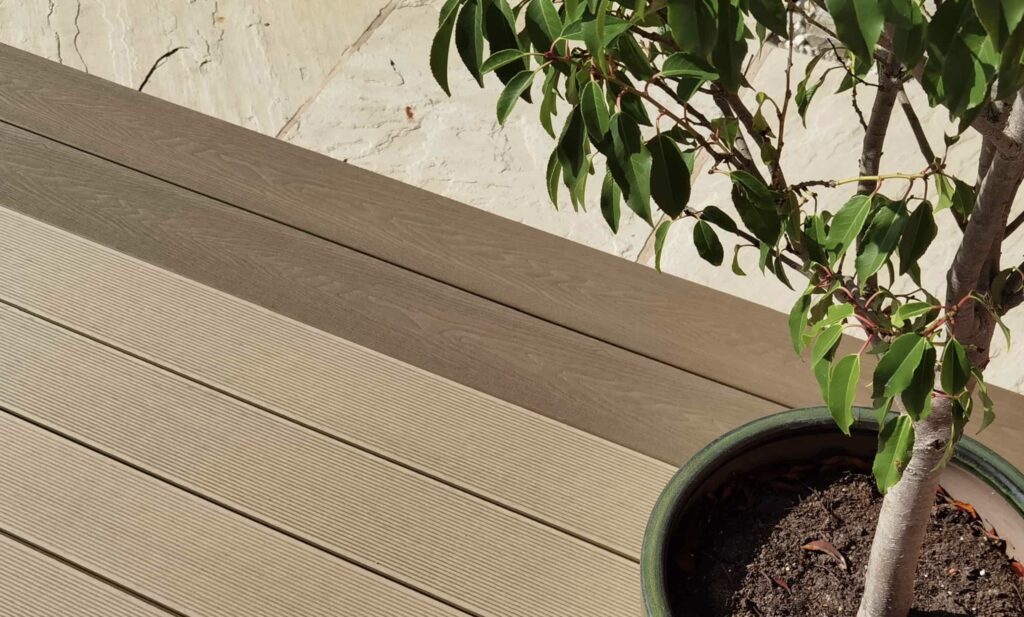
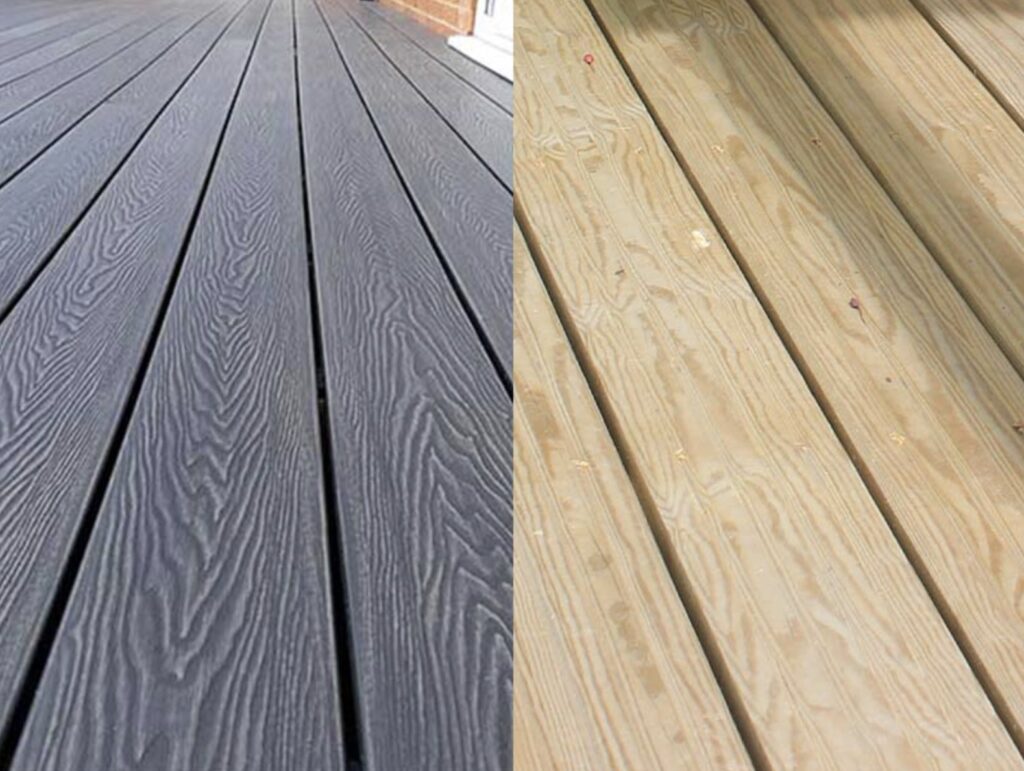
Welcome to your ultimate guide on how to paint decking in New Zealand! If your deck is starting to look a little weathered or you simply want to freshen up your outdoor space, painting your decking is the perfect way to protect it from the elements and bring it back to life. With New Zealand’s unique climate, from intense UV rays to heavy rainfall, it’s essential to maintain your deck to ensure its longevity and beauty. In this guide, we’ll walk you through each step of the painting process, from prepping your deck to choosing the right paint, so you can confidently transform your outdoor area into a stunning, long-lasting feature that you’ll enjoy for years to come. Let’s dive in!
To paint decking in New Zealand, start by thoroughly cleaning the deck with a specialized deck cleaner to remove dirt and mold. After the deck dries, sand the surface to ensure smooth paint application. Choose a weather-resistant deck paint suited to New Zealand’s climate, such as Resene or Dulux. Apply the paint evenly with a roller, working in small sections, and allow it to dry before applying a second coat for maximum protection. Regular maintenance, such as cleaning and touch-ups, will keep your deck looking fresh and protected from the elements.
Table of Contents
Why You Should Paint Your Decking
Painting your deck isn’t just about aesthetics—it’s a strategic choice that enhances both the longevity and functionality of your outdoor living space. Here’s why painting your deck is a worthwhile investment for homeowners, particularly in New Zealand’s unique climate.
Enhanced Longevity
Wood, while naturally durable, is susceptible to various forms of damage if left unprotected. Moisture, UV rays, and the regular wear and tear from use can significantly shorten the lifespan of your decking. By applying a high-quality paint, you create a barrier that shields the wood from these elements. This protective layer prevents water absorption, which is crucial for warding off rot, mold, and mildew that thrive in damp environments. Furthermore, paint contains UV inhibitors that help prevent the sun’s rays from bleaching and weakening the wood fibers. As a result, painting your deck not only preserves its strength and structural integrity but also extends its service life, ensuring that it remains a robust feature of your home for years to come.
Aesthetic Appeal
A fresh coat of paint can completely transform the look of your deck. Whether you’re aiming for a bold, vibrant tone or a more subtle, understated hue, painting your deck allows you to customize its appearance to complement your home’s exterior and landscaping. This customization makes your deck a true extension of your living space, enhancing its visual appeal and establishing it as the focal point of your garden or backyard. Regular maintenance, including painting, also helps avoid the aged, weathered look that can make wood seem old and tired, keeping your deck looking new and inviting.
Safety Considerations
Safety is paramount in any home improvement, and painting your deck contributes significantly to making your outdoor space safer. Wood that is left untreated can splinter over time, posing a risk to bare feet. A good coat of paint smooths over those rough edges, reducing the risk of injury. Additionally, specialty deck paints are available with non-slip additives that provide better traction underfoot. This is particularly useful in wet climates where surfaces tend to become slippery and hazardous.
NZ-Specific Considerations
In New Zealand, the weather can be quite harsh on wooden structures. Coastal homes deal with salt spray that can accelerate wood degradation, while areas with heavy rainfall see more moisture-related damage. Painting your deck helps combat these specific challenges by providing a resilient coating that repels water and resists salt corrosion. Choosing the right type of paint can be crucial for decks in New Zealand, as it ensures that the wood is adequately protected from local environmental factors, thereby avoiding frequent and costly repairs.
In conclusion, painting your deck is an essential maintenance task that not only enhances its appearance but also contributes to its longevity and safety. For New Zealand homeowners, it’s a smart, cost-effective way to protect your investment and enjoy your outdoor space worry-free, regardless of the weather conditions. Remember, a well-maintained deck not only adds value to your home but also enriches your quality of life by providing a safe and beautiful space for relaxation and entertainment.

Tools And Materials You’ll Need
When embarking on the project of painting or staining your deck, having the right tools and materials on hand is crucial to ensure the job is done efficiently and effectively. Here’s a comprehensive guide to help you gather everything you’ll need before you start, ensuring you’re prepared to achieve a professional-quality finish.
Essential Tools
1. Brushes and Rollers: For most decking projects, the choice of brushes and rollers can significantly affect the ease of application and the quality of the finish. For best results, opt for synthetic bristle brushes which are durable and work well with both water-based and oil-based deck paints. Rollers should be high-quality, medium-nap rollers that can handle the texture of your deck wood without shedding fibers.
2. Paint Tray and Liner: A sturdy paint tray is indispensable for holding paint while you work, and liners are highly recommended for easier cleanup and multiple color use without contamination.
3. Sandpaper or Power Sander: Properly preparing your deck surface is key to a lasting finish. Use sandpaper or a power sander to smooth out rough patches and remove the old finish. This step is essential for ensuring the new paint or stain adheres properly.
4. Painter’s Tape and Drop Cloths: Protect areas adjacent to the deck from accidental paint splatters and spills by using painter’s tape and drop cloths. They are essential for keeping your project tidy and professional.
5. Safety Gear: Never underestimate the importance of safety. Gloves will protect your hands during sanding and painting, while a mask will guard against inhaling dust and fumes, especially important if you’re working with oil-based products.
6. Optional: Paint Sprayer: For larger decks, a paint sprayer can be a great investment. It speeds up the process of applying paint or stain and helps achieve an even coat more efficiently than traditional methods.
Materials
1. Deck Cleaner: Before you start painting, it’s crucial to clean your deck thoroughly. In New Zealand, popular options like Mitre 10 deck cleaner provide an excellent base for ensuring your deck is pristine and ready for painting or staining.
2. Deck Paint: Choosing the right deck paint is pivotal. In New Zealand, brands like Resene, Dulux, and Cabot’s offer high-quality options. When selecting paint, you must decide between oil-based and water-based formulas. Oil-based paints are praised for their durability and rich finish but can be trickier to work with and slower to dry. Water-based paints are easier to clean up and quicker to dry but might require more frequent touch-ups over time.
3. Primer: While not always necessary, using a primer can enhance the paint’s ability to adhere to the deck and can help achieve a more uniform finish, particularly if you’re making a significant color change or working with older wood.
4. Stain-Blocking Products: If your deck has issues with stains or you’re particularly concerned about moisture, consider using stain-blocking products. These can help prevent tannins in the wood from bleeding through the paint, ensuring a cleaner, more consistent finish.
Gathering these tools and materials before you begin your decking project will not only save time but also help ensure you achieve the desired results with a professional touch. Whether you’re refreshing an old favorite space or painting a newly built deck, being well-prepared is the first step to success.

Preparing Your Deck For Painting
When it comes to giving your deck a fresh new look, painting can be a rewarding project. However, the key to a flawless finish lies in the preparation. Ensuring your deck is properly prepared will not only enhance the paint’s appearance but also extend the life of your paint job. Below is a detailed guide on how to prepare your deck for painting, broken down into three essential steps.
Step 1: Cleaning the Deck
Why Cleaning is Crucial
Before you even think about dipping a brush into paint, the first step is to thoroughly clean your deck. This is crucial because paint adheres best to a clean surface. Dirt, grime, and mildew can interfere with adhesion, leading to peeling and chipping of the paint sooner than expected.
Choosing the Right Cleaning Products
For an effective clean, choosing the right cleaning products is essential. A highly recommended choice is the Mitre 10 deck cleaner, known for its effectiveness in removing dirt and mildew without damaging the wood. To use this cleaner, follow the instructions on the label. Typically, you’ll dilute the cleaner in water, apply it to the deck with a stiff brush, and rinse it off with water.
Power Washing vs. Scrub Brushing
The method you choose for applying the cleaner depends on the condition of your deck. For heavily soiled or mildewed decks, a power washer can be a time-saver. However, be cautious with the pressure setting to avoid damaging the wood. For decks with light dirt, a scrub brush and some elbow grease will do the job. Whichever method you choose, make sure to clean evenly to avoid streaking.
Drying Time
After cleaning, allow the deck ample time to dry completely before moving on to the next steps. It’s best to choose a period of dry weather, as moisture can hinder the painting process.
Step 2: Repairing Any Damage
Identifying Areas that Need Repair
Inspect your deck for any signs of damage such as cracked boards, loose nails, or splinters. These issues should be addressed before painting to ensure a smooth finish and to prevent further deterioration.
Tips for Repairing the Deck
For loose nails, either hammer them back in place or replace them with deck screws for better durability. Damaged boards should be replaced entirely. If you find splinters, use wood filler to smooth them out. These repairs will help create a more uniform surface and ensure the paint applies evenly.
Step 3: Sanding the Surface
The Importance of Sanding
Sanding is a critical step in the preparation process, particularly if your deck has old paint or rough spots. Sanding smooths out the surface and provides a better grip for the new paint.
Choosing Sandpaper and Techniques
For most decks, a medium-grit sandpaper (like 60 to 80 grit) is ideal. Sand along the grain of the wood to avoid creating scratches that are hard to cover with paint. Focus on areas with old paint or rough patches to ensure an even surface. For large decks, consider using a power sander to save time and effort.
Minimizing Dust and Effort
When sanding, it’s helpful to use a dust mask and goggles to protect yourself from wood dust. If possible, use a sander with a built-in dust collection system to minimize cleanup.
By following these steps diligently, you prepare your deck not only for a stunning new look but also for long-lasting durability. Remember, the time and effort you put into preparing your deck will reflect in the quality and finish of your paint job, making it a worthy investment.
Choosing The Right Paint For NZ Conditions
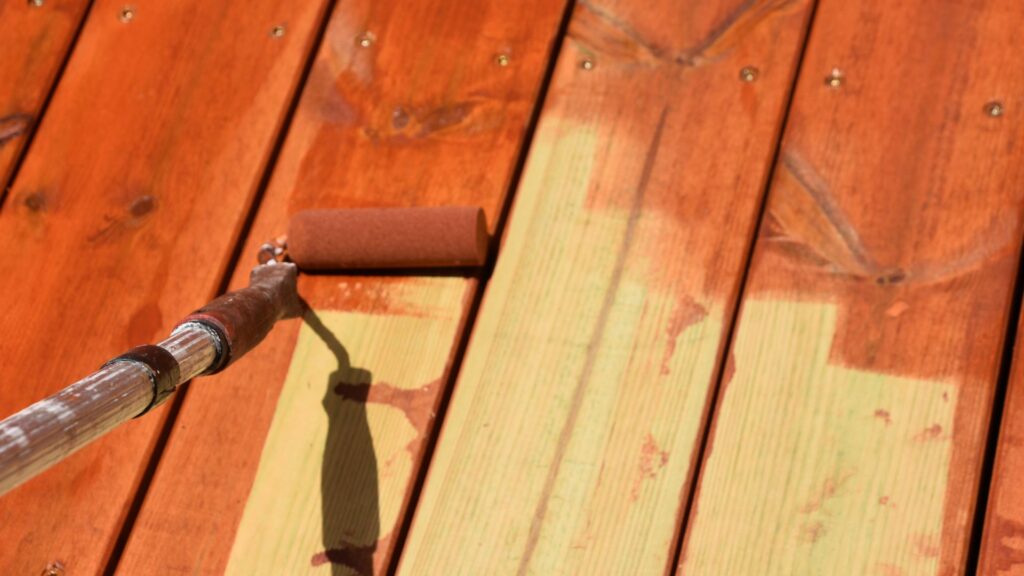
When it comes to selecting the right paint for outdoor decking in New Zealand, understanding the local climate is crucial. New Zealand’s weather conditions can be quite diverse, ranging from harsh sun exposure to frequent rainfalls, which means the choice of paint needs to provide both UV resistance and moisture protection. This guide will discuss the best types of paint for these conditions, compare popular brands and their products, and delve into the benefits and drawbacks of oil-based versus water-based paints.
Understanding New Zealand’s Climate and Paint Requirements
New Zealand’s geographical setting exposes it to varied weather patterns, often necessitating the need for robust and resilient building materials, especially for outdoor spaces like decks. The key qualities to look for in a good decking paint are UV resistance to prevent fading from harsh sunlight and moisture resistance to protect against the damp, often rainy climate prevalent in many parts of the country.
Top Decking Paints Available in New Zealand
Several brands have formulated products specifically to meet the demands of New Zealand’s climate:
- Resene Decking Paint: Known for its durability, Resene Decking Paint is a top choice for New Zealand homes. It offers excellent coverage and a wide array of color options, allowing homeowners to customize their outdoor aesthetics without compromising on quality. The paint’s formula is designed to withstand the New Zealand sun and resist peeling and fading over time.
- Dulux Timbercolour: Dulux Timbercolour is celebrated for its exceptional weather resistance, making it ideal for protecting decks from the elements. Its composition helps prevent water damage and decay, and the product is designed to last through extreme weather conditions, ensuring long-term beauty and protection.
- Cabot’s Deck and Exterior Stain: This water-based stain is favored for its ease of application and maintenance. Suitable for both decking and exterior woodwork, Cabot’s offers a practical solution that doesn’t sacrifice performance. Its water-based nature allows for quicker drying times and easier cleanup, while still providing a durable finish that stands up to New Zealand’s weather challenges.
Choosing Between Oil-Based and Water-Based Paints
When selecting paint for your decking, understanding the difference between oil-based and water-based options is vital:
- Oil-Based Paints: These paints are highly durable and resistant to wear and tear, making them suitable for high-traffic areas. They tend to have a longer drying time, which can be beneficial for achieving a smoother finish, as it allows for better leveling of the paint. However, oil-based paints often emit strong odors and contain higher levels of volatile organic compounds (VOCs), which can be a concern for indoor air quality and environmental health.
- Water-Based Paints: Known for their ease of use, water-based paints are less odorous and contain fewer VOCs, making them an environmentally friendlier choice. They dry faster and are easier to clean up, requiring only soap and water. While they are generally less durable than oil-based options, advances in technology have significantly improved their resilience and longevity, making them a competitive choice for decking in adverse weather conditions.
Recommendations for New Zealand Homeowners
Considering the common weather challenges in New Zealand, water-based paints are often recommended for residential decking. They provide adequate protection against the elements, are easier to maintain, and are more environmentally sustainable. Brands like Cabot’s and Dulux offer products that cater specifically to these needs, ensuring both durability and aesthetic appeal.
In conclusion, choosing the right paint for your decking in New Zealand involves a careful assessment of the products’ resistance to UV rays and moisture, as well as a consideration of the environmental impact and ease of maintenance of the paint. By selecting a product tailored to New Zealand’s unique climate challenges, you can ensure that your deck remains a vibrant and durable part of your home for years to come.
Step-By-Step Painting Process
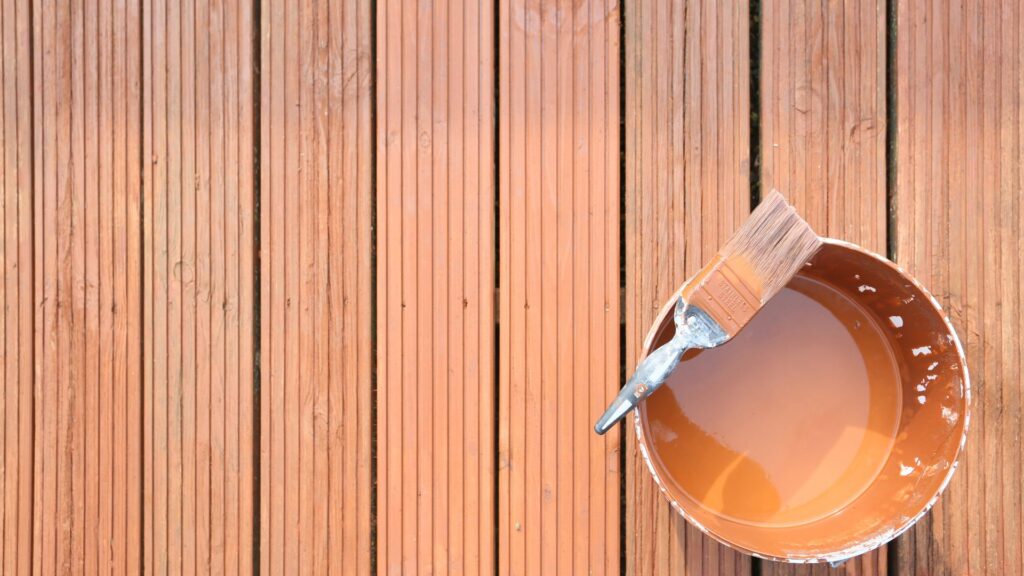
Painting your deck can rejuvenate your outdoor living space, providing a fresh look that protects and preserves the wood for years to come. Whether you’re embarking on a DIY deck painting project for the first time or looking to improve your technique, this step-by-step guide ensures you achieve professional-quality results. Let’s dive into the process.
Step 1: Priming (Optional)
Priming is a preparatory step that you might need to consider, especially if your deck features porous or weathered wood. The primary purpose of a primer is to ensure that your topcoat adheres properly and provides a uniform finish.
- When to Use Primer: If your deck wood is new and untreated, a primer can help seal the porous surface. For older, weathered decks, a primer can fill in the degraded surfaces and help the new paint stick better and last longer.
- Application Tips: To apply primer evenly, start with a clean, dry surface. Use a wide brush or a roller to cover large areas more efficiently. Ensure all nooks and crannies are covered to prevent moisture ingress. Allow the primer to dry completely, as per the manufacturer’s instructions, usually a few hours.
Step 2: First Coat of Paint
The first coat of paint is crucial as it lays the foundation for the colors and finish of your deck.
- Tools and Techniques: Utilize a roller for broad surfaces and a brush for edges and detailed areas. Rollers can provide a more even coverage and help you work faster. When painting, always go with the grain of the wood to enhance the natural texture.
- Best Practices: Work in manageable sections and avoid rushing. It’s important not to paint in direct sunlight. The heat can cause the paint to dry too rapidly, which might lead to an uneven finish with visible brush strokes or roller marks.
Step 3: Drying and Second Coat
A second coat of paint not only intensifies the color but also ensures your deck has an extra layer of protection.
- Drying Time: Allow the first coat to dry thoroughly, which might take about 4-6 hours, but this can vary depending on the type of paint and weather conditions.
- Applying the Second Coat: Check the surface for any missed spots or uneven layers after the first coat has dried. Apply the second coat just like the first, using the same technique to ensure consistent coverage and depth of color.
Why a Second Coat? This layer adds durability and helps the color withstand the harsh elements, from UV rays to rain, ensuring your deck looks great for longer.
Step 4: Sealing (Optional)
Sealing your deck is an optional but recommended step, particularly if you live in areas with harsh weather conditions, such as coastal regions in New Zealand.
- Choosing a Sealant: A clear sealant can help protect the paint against moisture and wear, extending the life of your paint job. It’s particularly beneficial for decks exposed to salt air or heavy rainfall.
- Application: Apply the sealant with a clean brush or roller, covering every painted surface. Make sure to check the weather forecast; sealant needs a dry period to set properly.
- Drying Time: Typically, it takes 24 to 48 hours for the sealant to dry completely. Avoid using the deck during this time to ensure the sealant cures perfectly.
By following these steps, you’ll ensure your deck not only looks beautiful but is also well-protected. Remember, the quality of your materials and your attention to detail during the application will greatly influence the final result and longevity of your deck’s finish. Happy painting!
Maintaining Your Painted Deck
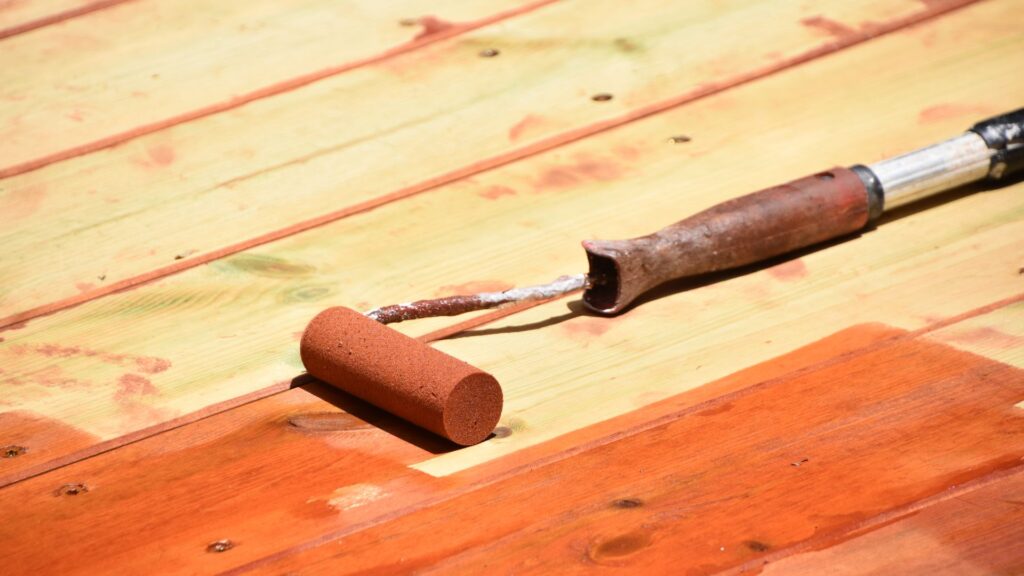
Maintaining a painted deck is crucial to preserving its aesthetic appeal and structural integrity. In this section, we’ll explore effective strategies to prolong the life of your deck’s paint, understand the frequency of repainting or resealing, identify early signs of wear and tear, and adjust your maintenance routine based on New Zealand’s diverse climates.
Regular Cleaning and Touch-Ups: Key to Long-Lasting Deck Paint
The secret to a long-lasting painted deck lies in regular maintenance. Dust, dirt, and debris can accumulate on the surface, causing the paint to degrade prematurely. To prevent this, it’s essential to clean your deck regularly. A gentle wash with a soft brush and mild soapy water can remove surface grime without damaging the paint. For tougher stains, a specialized deck cleaner, such as those available from Mitre 10, can be effective.
Aside from cleaning, inspect your deck periodically for chips and scratches in the paint. Addressing these imperfections promptly with touch-ups can prevent moisture from seeping into the wood, which leads to further damage. Using the exact match of your deck’s paint ensures that these touch-ups blend seamlessly, maintaining a uniform appearance.
Repainting and Resealing: When is it Time?
The frequency of repainting or resealing your deck depends largely on New Zealand’s climate and your deck’s exposure to elements. Generally, a deck should be repainted or resealed every 2 to 4 years. However, decks in areas with harsh weather conditions, such as high UV exposure, heavy rainfall, or coastal sea spray, may require more frequent maintenance.
It’s advisable to schedule an inspection of your deck’s paint every spring to assess any damage incurred over the winter months. If the paint appears faded, worn, or flaky, it’s likely time for a fresh coat. Using high-quality, weather-resistant paint can enhance the longevity of your deck’s finish and provide better protection against the elements.
Early Signs of Wear and Tear
Early detection of wear and tear can save you significant time and expense in deck maintenance. Look out for signs such as:
- Fading or discoloration of the paint, especially in areas exposed to direct sunlight.
- Peeling or flaking paint, which indicates that moisture may be breaching the protective barrier.
- Wood that feels soft or spongy to the touch, a potential sign of rot.
- Visible mold or mildew on the deck surface, often appearing as black or green patches.
Addressing these issues early can prevent more extensive damage, ensuring that your deck remains a safe and enjoyable space.
Seasonal Maintenance Schedules for New Zealand
New Zealand’s diverse climates mean that deck maintenance schedules can vary significantly from region to region. Coastal areas, for example, face aggressive salt spray and high humidity, necessitating more frequent cleaning and protective treatments. On the other hand, inland areas might experience more extreme temperature variations, requiring diligent inspection for thermal stress on paint and wood.
Here’s a basic seasonal maintenance schedule tailored to different New Zealand regions:
- Spring (All regions): Inspect and clean your deck thoroughly. Perform any necessary touch-ups or plan for a full repaint if required.
- Summer (Coastal areas): Increase inspections for signs of salt damage and humidity impact. Inland areas should check for UV damage.
- Autumn (All regions): Clean your deck to remove debris and leaves that might trap moisture over winter.
- Winter (All regions): Ensure that your deck is well-drained and free from accumulated snow or water pools.
Adhering to a regular maintenance schedule and adapting your care techniques according to your local climate will ensure that your painted deck remains vibrant and durable for years to come. By taking proactive steps to care for your deck, you not only enhance its longevity but also contribute to the overall aesthetic and value of your home.
Common Mistakes To Avoid When Painting Decks
When it comes to giving your deck a fresh coat of paint, achieving a professional-looking finish is all about steering clear of some common pitfalls. Below, I’ll walk you through the top mistakes to avoid when painting decks to help ensure your project turns out as perfect as planned.
1. Painting Over Wet Wood or Dirt
One of the fundamental steps in deck painting is making sure your surface is completely ready for that new layer of paint. This means the wood must be dry and clean. Painting over wet wood can lead to a host of issues, such as peeling and blistering paint once it dries. Similarly, painting over dirt or debris can prevent the paint from adhering properly, resulting in an uneven finish and reduced durability. Always allow sufficient drying time after cleaning your deck and before starting to paint, especially after rainy weather.
2. Using the Wrong Type of Paint
Not all paints are created equal, especially when it comes to indoor versus outdoor use. Decks require exterior paint that can withstand the elements like UV rays and moisture. Using interior paint on your deck not only affects the durability and appearance of the finish but can also lead to quicker degradation, requiring more frequent touch-ups or redoing the job entirely. Always choose a paint formulated for outdoor use and suited to the material of your deck.
3. Skipping Proper Preparation
The longevity of your paint job significantly depends on the prep work. Properly preparing your deck for painting includes thorough cleaning to remove all grime, mildew, and debris, followed by sanding to smooth out the surface and help the paint adhere better. Skipping these steps can result in a poor finish that may flake or chip prematurely. Investing time in preparing your deck will enhance the paint’s durability and appearance.
4. Applying Thick Coats Instead of Thin, Even Layers
When painting your deck, it might be tempting to slather on a thick coat of paint to finish the job quickly. However, thicker paint layers can lead to longer drying times, runs, and uneven curing, which might crack or peel off. For best results, apply thin, even coats and allow sufficient drying time between layers. This method ensures a smoother, more durable finish that looks professionally done.
5. Painting in Extreme Weather Conditions
The weather can significantly impact the quality of your deck painting job. Extreme temperatures and high humidity levels can affect how paint sets and dries. Hot weather can make the paint dry too quickly, leading to an uneven finish, while cold weather can prevent the paint from drying properly. Additionally, high humidity can introduce moisture into the paint, affecting its adhesion and leading to a tacky finish. Opt for a day with mild, dry weather to ensure the best results.
By avoiding these common mistakes, you can ensure your deck painting project is a success, enhancing both the beauty and longevity of your outdoor space. Remember, the key to a great paint job is as much in the preparation as it is in the application.

FAQs: About How To Paint Decking NZ
How long does it take to paint a deck?
The time it takes to paint a deck depends on several factors, including the size of the deck, weather conditions, and the drying time of the paint. Typically, you can expect the process to take 2 to 3 days, including cleaning, prepping, painting, and drying between coats.
Do I need to sand my deck before painting?
Yes, sanding is an important step. It helps to smooth out rough patches, remove old paint or stain, and ensure the new paint adheres properly to the deck’s surface. Skipping this step can lead to uneven paint application or peeling over time.
Can I paint a deck without using a primer?
While it’s possible to paint a deck without primer, it’s recommended to use a primer if the wood is particularly porous or has been weathered over time. Primer helps to seal the wood and provides a smooth base for the paint, leading to better durability.
How many coats of paint should I apply to my deck?
It’s best to apply two thin coats of paint for even coverage and maximum protection. Allow the first coat to dry completely before applying the second coat. This will ensure a longer-lasting and more resilient finish.
What’s the best time of year to paint decking in New Zealand?
Spring and summer are ideal for painting decks in New Zealand, as the weather is typically drier and warmer. Avoid painting in very hot or humid conditions, as this can affect the drying process and lead to poor results. Always check the weather forecast and choose a period of clear, dry days.
Can I paint a stained deck?
Yes, you can paint over a previously stained deck, but it’s crucial to properly clean and sand the surface first. If the stain is peeling or flaking, you may need to remove it entirely before applying a fresh coat of paint for better adhesion.
How often should I repaint my deck?
On average, a well-maintained painted deck will need to be repainted every 2 to 3 years, depending on the type of paint used and the exposure to elements like sunlight and rain. Regular cleaning and touch-ups can help extend the life of the paint job.
What’s the difference between oil-based and water-based deck paint?
Oil-based paints are generally more durable and provide better protection against moisture, but they take longer to dry and require more effort to clean up. Water-based paints dry faster, are easier to clean, and are more environmentally friendly. However, they may require more frequent maintenance in harsh conditions.
How do I choose the right color for my deck?
When choosing a deck color, consider how it complements your home’s exterior and the surrounding landscape. Lighter colors can reflect heat and make the area feel cooler, while darker colors can create a more dramatic look but may absorb heat. Also, take into account how the color will weather over time.
How soon after painting can I use my deck?
Most deck paints require at least 24 to 48 hours to fully dry before you can walk on the surface. However, it’s a good idea to wait 72 hours before placing furniture or heavy objects on the deck to prevent any damage to the fresh paint. Always check the manufacturer’s instructions for specific drying times.
Conclusion
In conclusion, painting your deck is a crucial step in maintaining and enhancing your outdoor living space. By following the key steps we’ve outlined—from cleaning and preparing the surface to choosing the right paint and applying it correctly—you ensure that your deck is not only visually appealing but also well-protected against the elements. This proactive approach not only preserves the life of your decking but also enhances your home’s overall aesthetic. We encourage you to take this opportunity to refresh your deck with confidence. Whether you decide to tackle the project yourself or prefer professional assistance for more extensive work, your local New Zealand hardware store is a great resource for supplies and advice. Don’t hesitate to reach out to them or consult a decking expert to make your outdoor space a place of pride and enjoyment.
About the Author:
Mike Veail is a recognized digital marketing expert with over 6 years of experience in helping tradespeople and small businesses thrive online. A former quantity surveyor, Mike combines deep industry knowledge with hands-on expertise in SEO and Google Ads. His marketing strategies are tailored to the specific needs of the trades sector, helping businesses increase visibility and generate more leads through proven, ethical methods.
Mike has successfully partnered with numerous companies, establishing a track record of delivering measurable results. His work has been featured across various platforms that showcase his expertise in lead generation and online marketing for the trades sector.
Learn more about Mike's experience and services at https://theleadguy.online or follow him on social media:

